Http://MyCricutcraftroom.blogspot.com START FROM
Laura- http://www.laurascraftsandmore.com/
Tracy- http://scrappininthewoods.blogspot.com/
Lisa http://www.allmadebylisa.blogspot.com/
Susan http://craftingandbeyond.blogspot.com/
Ashley http://theglamoroussideofscrapping.blogspot.com/ CAME FROM
Doris http://mybugandmecreate.blogspot.com/ HERE
Janet http://janetscreativeworld.blogspot.com/ NEXT to go to
Liz http://tryin2craft.blogspot.com/
Erica- http://ericasprojects.blogspot.com
Sheila- http://2pawprints.blogspot.com/
Jamie- http://jamiek711designs.blogspot.com/
Laurie- http://mincedpaper.blogspot.com/
Kathy http://3spoileddogs.blogspot.com/
Kym http://kimmyskards.blogspot.com.
Marji www.fstampaholic.blogspot.com :
Sherri http://squeakyscrapper.blogspot.com
Blog Candy http://ericasblogcandy.blogspot.com
Welcome to our first 100 cartridge Blog Hop for 2012!! I have enjoyed being the hopper for months now and now I can to be both.. so EXCITED.. I am!
You should have arrived from
http://theglamoroussideofscrapping.blogspot.com Ashley's AWESOME Blog
This is a long post so get a drink, relax and enjoy :)
I am so excited to be a Design Team Member over at Erica's Craft Room as today is my first official Blog Hop with the rest of my talented DT sisters :)
My cartridges I picked for Jan is: Feelin Groovy, Phrases, Robotz and Pink Journey. There are 4 cards shown here today.
My FIRST card is one that many of us can relate to either as a supporter or as a fighter. I have a friend in church that is such a fighter, you would have never known she had stage 4 breast cancer when she found out and told us. She amazed so many in Chemo with her spirit and fight and even gave strength to those who like me saw what she was going through and I can only pray I have the same fight should I ever endure this fight too. I saw her in this picture and purple is her favorite color. We walked with her many days and many nights.
 |
| PINK JOURNEY Cricut Cartridge was used for this card. I also used the Imagine cartridge BLOSSOM for the colors of the girl and small tag. Ribbon is from Wyla Inc.. **The awesome girl is cut out at 4.5inches. The tag was cut out at 2 inches but torn here in the picture. The image is also from the Pink Journey tag. Paper background with words is from "Fighting back" from Gotmoxie.com FB-1119 Relay. Got it specifically for her! |
|
Her ribbon bow is a cut leftover from the inside of the phrase below used. I added some Glam Pink Stickles to her bow and a lil bling!
 |
| A JOURNEY OF A THOUSAND MILES BEGINS WITH A SINGLE STEP. It looks darker in 'real time" sorry. I added Glam Pink stickles to the ribbon which was cut out and torn at the top. to tell the truth.. I messed up the other one which was smaller and looked nicer BUT I had this bigger one and decided to get a lil creative as time is not on my side.. I hope you like :) 3 little blings added just the perfect touch! | stamp set saying is from SENTIMENT LIFE from Clear Stamps |
My second project is 2 cartridges in one card... Feelin Groovy Valentine...
**I used
Feelin' Groovy and Phrases. and with this I used the
Imagine cartridge...
I love the colors of the "hippie" era, I was in middle/High school
when this phase was HOT... I will give this card to a friend of mine,
she loved the bright colors and glitz look" :)
**The
PHRASE cartridge
is so awesome.. IF you are on the "line on whether to get it.. or not..
I would encourage you to do so.. Using it here for the word
"feelin
Groovy"
** ALL these awesome colors and designs are from the Imagine cartridge....
**
I used the diamond Stickles to enhance her dress top and the bottom of
her boots. As you can see she has a belt on.. It is from the remnants
of the ribbon on the card itself.. NEVER throw anything away.. LOL. I
also used the Diamond Stickles on all the dots on the green top layer
paper. Just a lil extra bling..
** "Valentine" phrase is from the CTMH set of Say it in Style D1283
 |
| the thread ribbon I used. That's what happens when you purchase from "scrapbook sales" no name packages... |
 |
| I used pop dots to hold down the "feelin Groovy" |
|
|
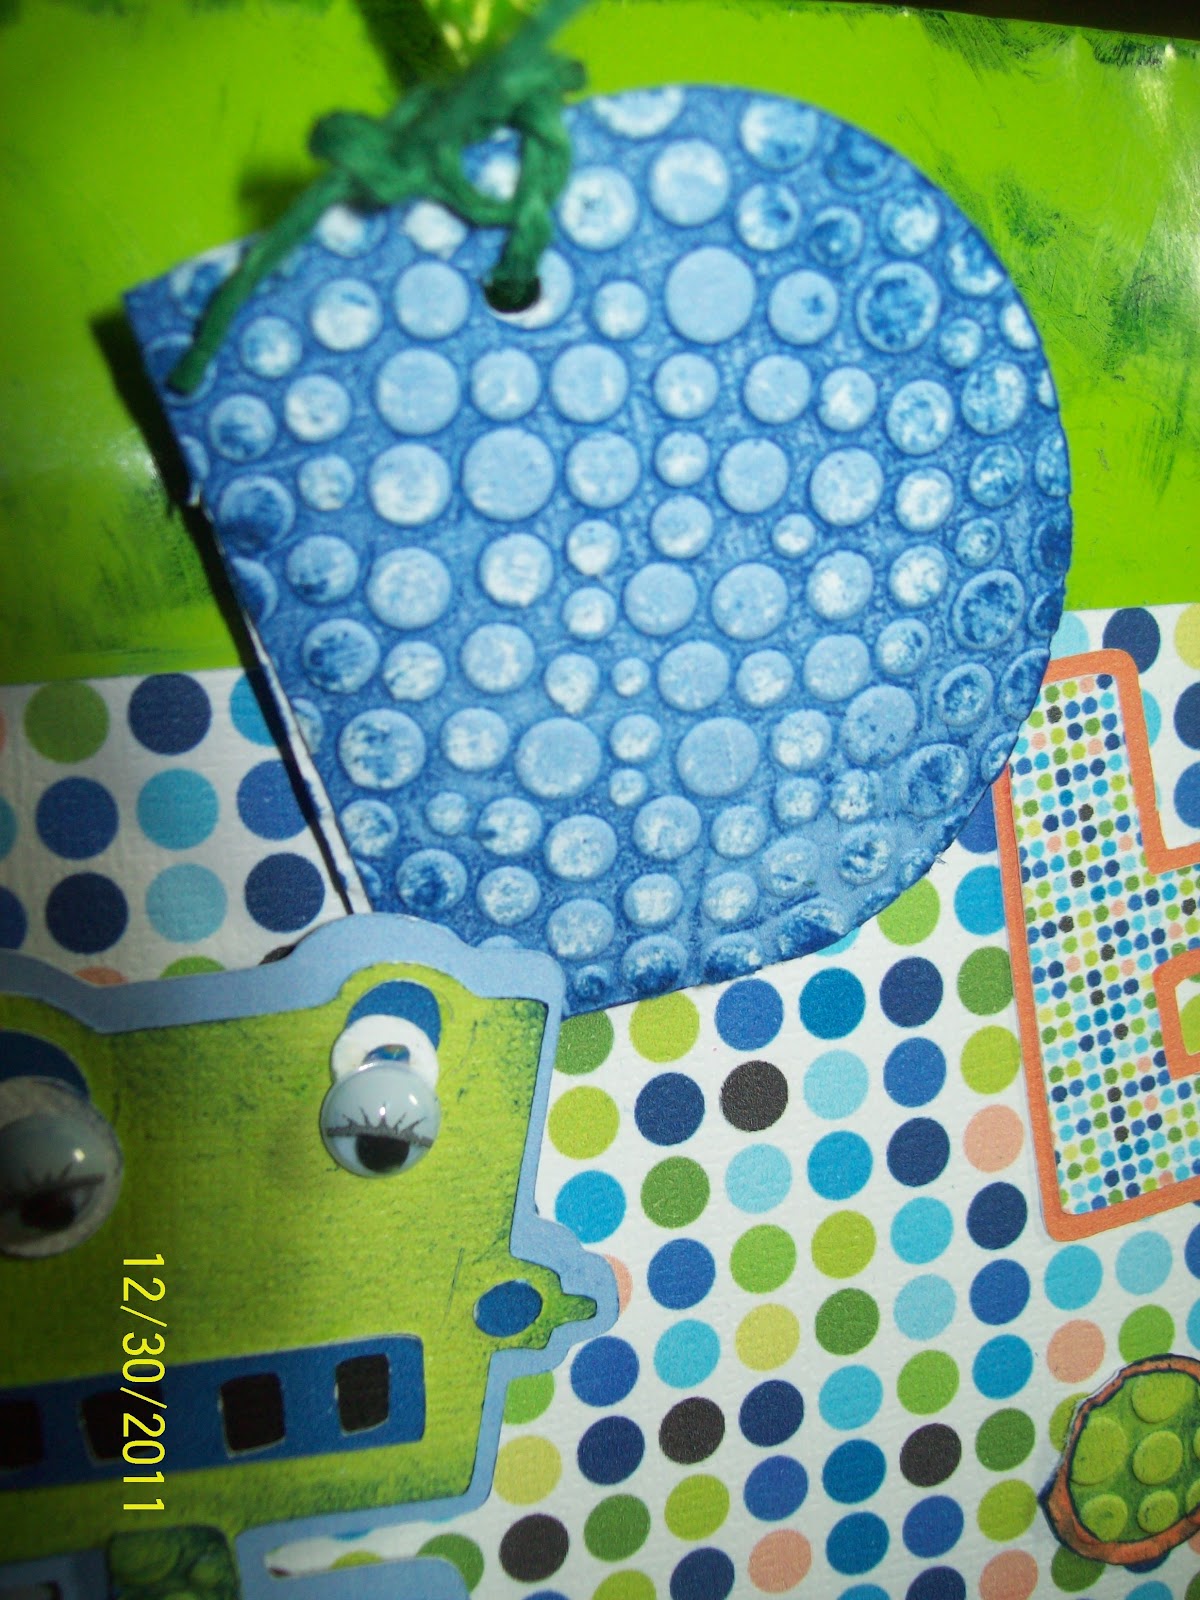
My THIRD project is from Robotz.. SUCH an adorable cartridge! Today, I have made a gift bag using a green bag wrinkled and then blue ink all over it. (btw.. this is a messy process!!) I created the robot using #33 on the
rubber thingy I mean... overlay..
**The letters were cut at 1.5 and the robot cut at 4.5. This robot had A LOT of pieces and like anything.. i had pieces left over.. oops.
**He is embossed on his hands, feet, tummy, and legs using the SPOTS and DOTS embossing folder from Cuttlebug.
**
Bubblegum Stripes Imagine cartridge helped being this Robot to life with an outburst of colors!
**I made a small gift tag at 7.5 and embossed it with the Spots & Dots folder too and a little sand paper to give it a older look.
** a few more directions below pics.
 |
| ink your embossed folder on the side with the print (cuttlebug, etc..) . put your paper item in there and roll away. When all done - just rinse off with water and let dry. |
 |
| this is the effect the ink gives! |
 |
| Gift tag embossed and held on by green twine from Ctmh.. |
 |
| Don't you just love my googly eyes! His tummy is embossed with the blue ink and then sandpapered to give it a awesome look. |
I used just the B - day since most of his friends say this and thought - it fit better so why not.. :)
4th LAST but not least project is: Home Decor. My thoughts for this card is a kind of a.. thinking of you, your not alone type of a card.
All cuts from Home Decor. birds cut at 1.5in , the branches at 2.5in and the word "beautiful" is cut at 2in. Paper background is from Me and MY Big Ideas Alison pack. pretty is it not... Colors chosen for the bird, flowers and word are the colors on the Imagine machine pre-set. Rhinestone for the birds eye and the flowers are from the ctmh set have had for years.. the heart from a set from a misc pkg I bought. The stamp saying is from Kristal Andrews getting Cricky blog that she sells. it is called Scripture Sayings
Please make sure that you leave comments on ALL the blogs you visit today and tomorrow. If you feel that I have inspired you in any way, I would love you to sign up for my e-mail, take my button on the left side and become a follower to receive and never miss any creations that is created. I would love to follow you too, so in your comments please leave your blog addy as I love to be inspired too :).